
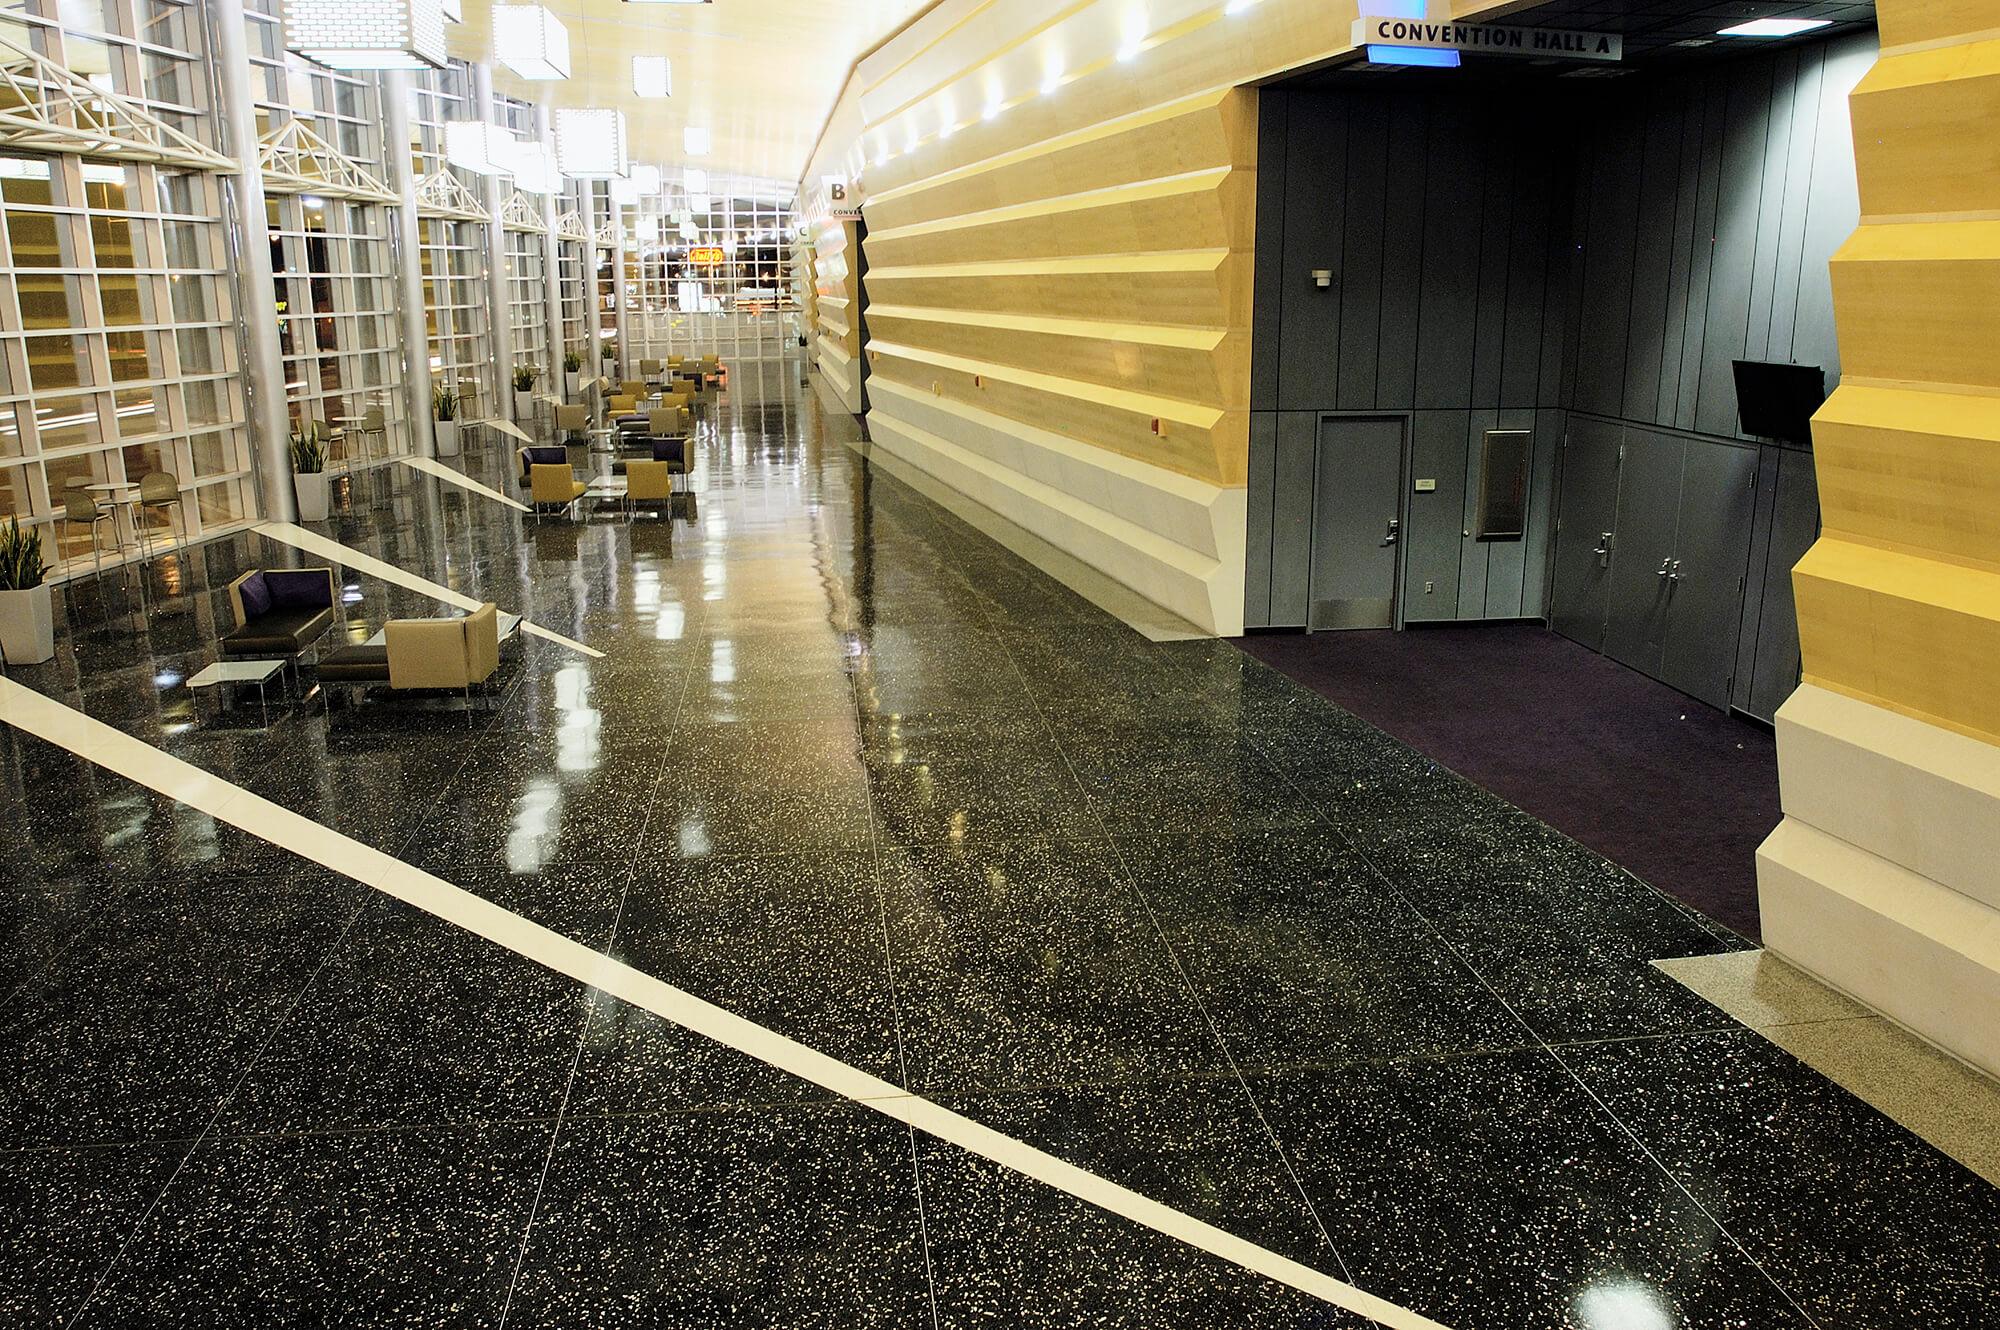
A commercial floor rarely fails because someone chose an ugly color. It fails because the system did not match the building, the slab was not ready, moisture was treated as somebody else's problem, transitions were improvised, or the schedule left no honest time for preparation and cure.
The finished surface is only the visible part of the work. Under it are decisions about traffic, substrate, moisture, movement, adhesives, transitions, sequencing, access, maintenance, and who owns each condition. Those decisions determine whether a floor serves the building for decades or becomes an expensive disruption a few years after opening.
F & M Tile & Terrazzo has planned, designed, and installed commercial hard surfaces in northeast Indiana since 1958. This guide explains the questions we want answered before our crews begin. If you need help translating a specification into an installation plan, start with our commercial flooring services or bring us the drawings before the floor becomes the critical path.
The short answer: start with the building, not the sample board
The best commercial floor is not a universal product. It is the system that fits five realities at the same time:
- Use: people, carts, beds, forklifts, chemicals, water, salt, grit, and impact.
- Building: slab condition, moisture, movement joints, floor elevations, and adjacent construction.
- Operations: when areas can close, how occupants move, and how long materials must cure.
- Ownership horizon: five years in a leased storefront is different from sixty years in a school.
- Maintenance: the staff, equipment, chemicals, and budget that will care for the floor after turnover.
Ignore any one of those and even a premium material can become the wrong floor.
A commercial flooring decision matrix
This is a starting point, not a substitute for project-specific testing and specifications.
| System | Best fit | Primary strength | Watch closely |
|---|---|---|---|
| Terrazzo | Schools, hospitals, civic buildings, entrances, major corridors | Exceptional service life, design freedom, low lifecycle cost | Higher first cost, substrate and movement planning |
| Porcelain and ceramic tile | Restrooms, kitchens, entries, food service, wet or high-wear areas | Water resistance, cleanability, broad finish range | Grout selection, movement joints, lippage, substrate flatness |
| Polished concrete | Retail, warehouses, open public spaces, sound existing slabs | Uses the slab, low maintenance, no replacement layer | Slab quality, patch visibility, aggregate variation, moisture history |
| Luxury vinyl tile | Offices, clinics, classrooms, retail renovations | Fast installation, many visuals, straightforward maintenance | Moisture, rolling loads, indentation, replacement cycle |
| Commercial carpet | Offices, classrooms, meeting rooms, acoustic zones | Acoustics, comfort, tile-by-tile replacement | Staining, rolling traffic, entry-soil control, shorter service life |
| Natural stone | Lobbies, civic and religious spaces, feature areas | Permanence and architectural character | Stone-specific setting, sealing, movement, maintenance chemistry |
| Brick pavers | Exterior walks, plazas, civic and hospitality settings | Durable character and replaceable units | Base preparation, drainage, freeze-thaw exposure |
Many successful buildings use several of these systems. Terrazzo may carry the public corridor, tile may protect the restroom and kitchen, carpet may quiet the conference room, and polished concrete may serve the back of house. The goal is not one material everywhere. It is one coordinated flooring plan.
Decision 1: define what the floor will actually endure
“Commercial traffic” is too vague to specify from. A courthouse entrance receiving winter salt is different from an office suite, even if both see the same number of people. A hospital corridor carries rolling loads around the clock. A retail sales floor meets pallet jacks, carts, scrubbers, and display changes. A school corridor compresses most of its daily traffic into a few minutes between bells.
Write down the actual exposures:
- peak foot traffic and traffic patterns;
- rolling load type, wheel material, and frequency;
- point loads from shelving, lifts, equipment, or furniture;
- water, oil, food, disinfectants, deicers, and other chemicals;
- impact, abrasion, and dragged loads;
- direct sunlight and temperature swings near entrances;
- acoustics and comfort expectations;
- appearance standards and tolerance for visible wear.
That use profile should drive the material, finish, adhesive, grout, sealer, and maintenance plan. It is also why our recommendations differ across education, healthcare and offices, retail and big box, and religious and civic buildings.
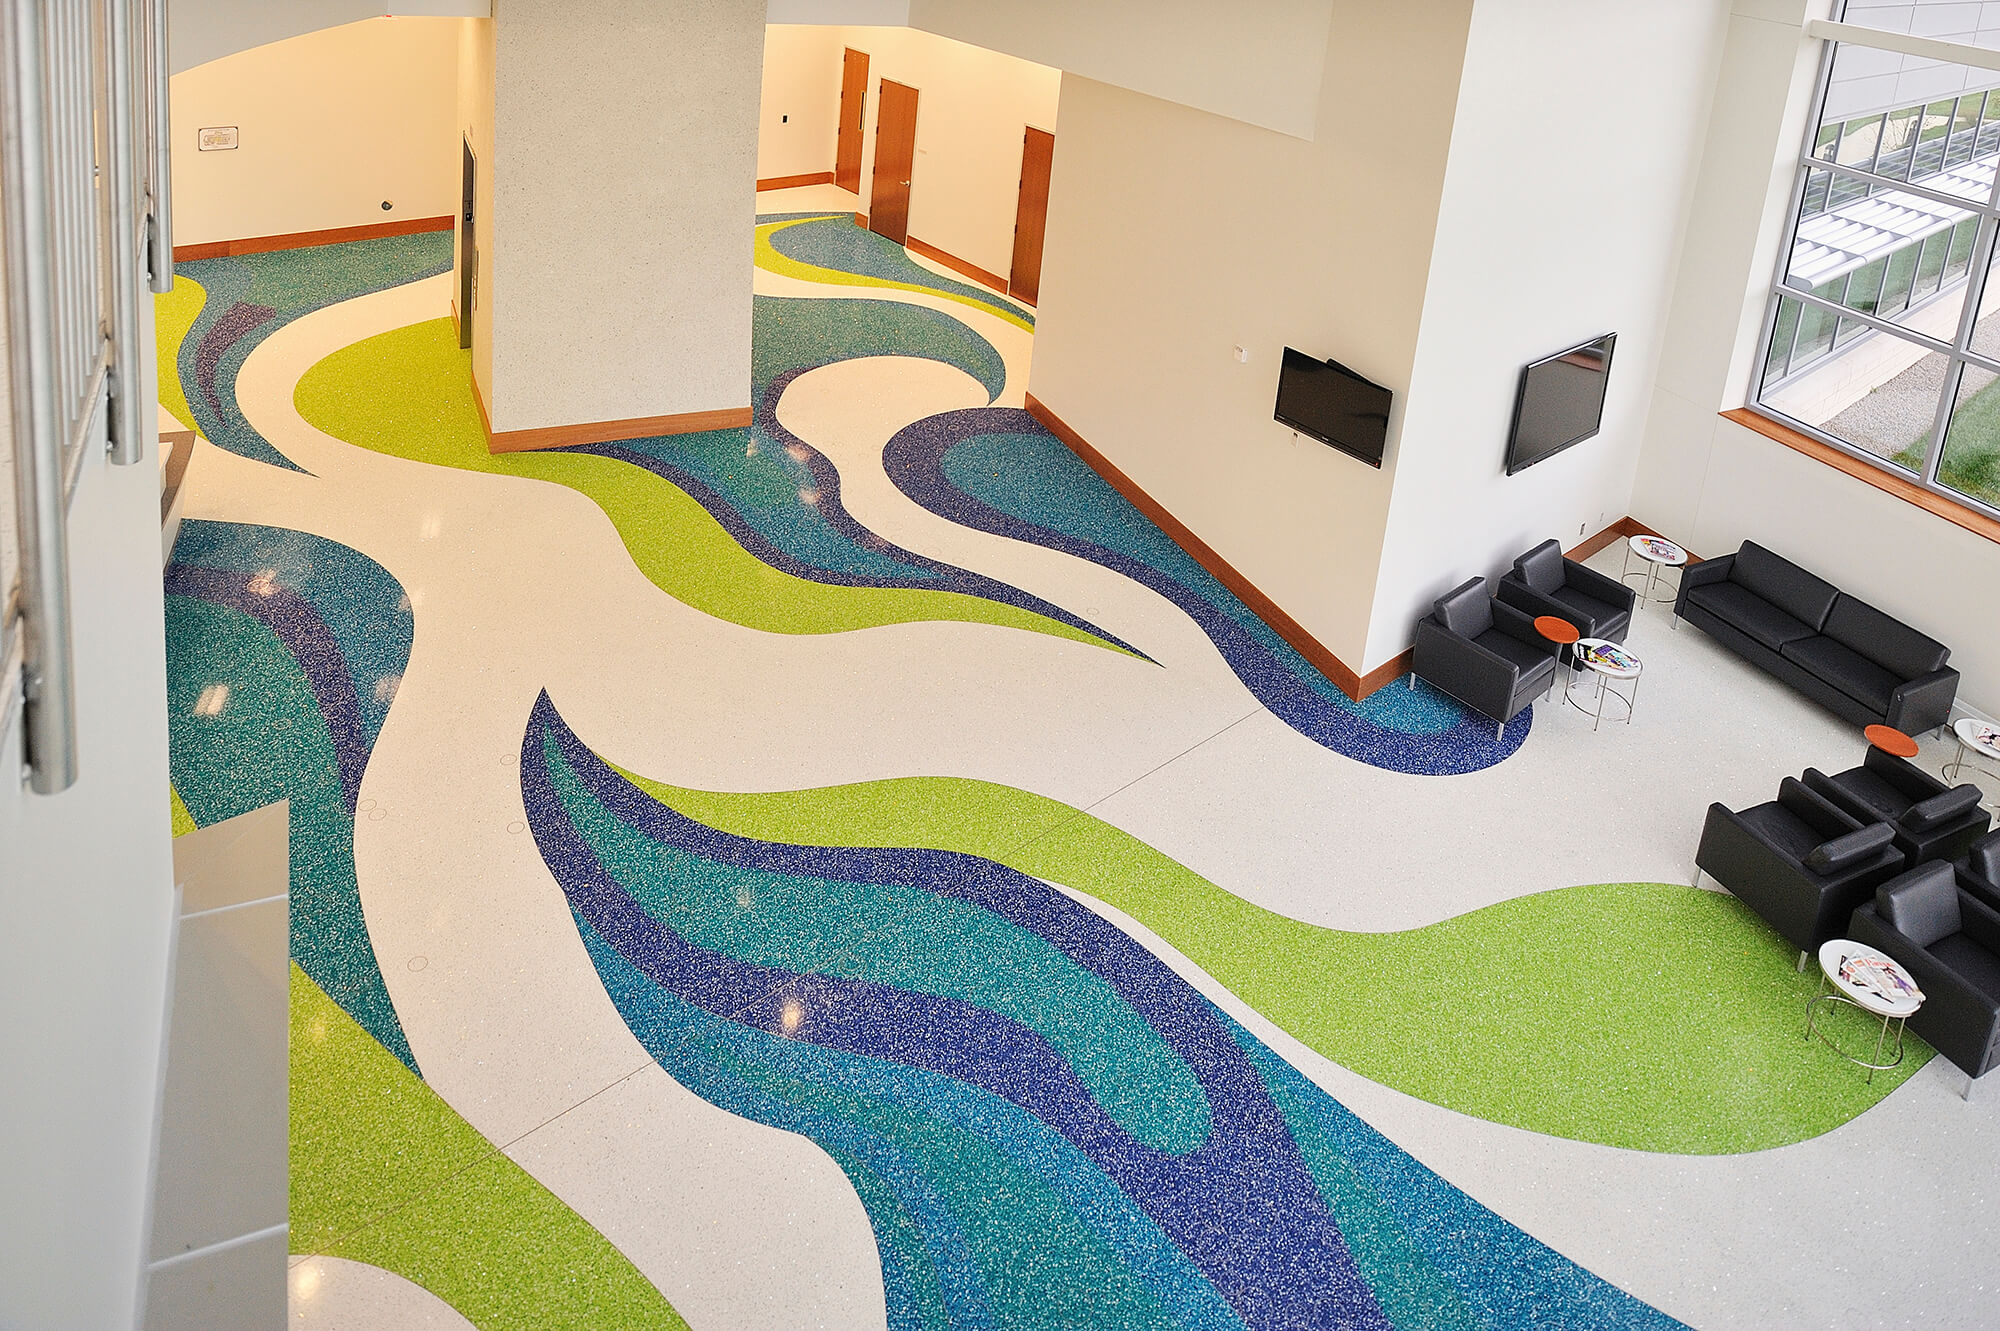
Decision 2: choose by lifecycle cost, not only bid price
The installation number is real, but it is not the entire cost. Owners also pay to clean, strip, coat, repair, close, remove, and replace a floor. A lower first cost can be the right decision for a short lease. It can be a very expensive decision for a school, hospital, or public building expected to remain in service for generations.
Compare alternatives using:
- installed cost;
- expected service interval in the specific environment;
- daily and periodic maintenance labor;
- chemicals, coatings, pads, and specialized equipment;
- repairability and availability of matching material;
- shutdown cost during future replacement;
- disposal and new-substrate preparation at replacement.
Our commercial flooring lifecycle-cost guide explains why the cheapest bid is not always the economical floor. For long-horizon facilities, our terrazzo versus polished concrete comparison is also a useful place to begin.
Decision 3: investigate the substrate before finalizing the system
The substrate is the floor's foundation and the most common source of expensive surprises. Existing flooring can hide cracks, adhesive residue, patchwork, curing compounds, contamination, elevation changes, and old moisture damage. New concrete can still be too wet, too rough, too smooth, too uneven, or not ready on the construction schedule.
A useful pre-installation investigation may include:
- review of slab age, mix, placement, curing, and previous coverings;
- visual mapping of cracks, joints, patches, hollow areas, and contamination;
- flatness and elevation checks;
- bond or adhesion testing where appropriate;
- moisture testing for the specified system;
- selective probes or test removals on renovation work;
- confirmation of underlayment, patch, primer, and mitigation compatibility.
The flooring contractor should not discover the building's basic substrate condition after truckloads of finish material are already on site. On renovations, a small amount of early investigation can protect weeks of schedule.
Decision 4: treat moisture as a project condition, not a product problem
Moisture-related failures can look like bubbles, debonding, discoloration, adhesive breakdown, efflorescence, or damaged grout and coatings. The visible failure may appear in the flooring, but the cause can originate in the slab, vapor retarder, drainage, HVAC conditions, cleaning practices, or an active leak.
The correct test method and acceptable limit depend on the flooring and installation system. Testing should follow the specification, current standards, and the written instructions for the actual products being installed. Results must represent the real slab—not a convenient corner—and must be documented before installation.
If readings exceed the system limits, the team needs a written response: allow more drying time, change the system, install a compatible mitigation assembly, or correct the source. “It will probably be fine” is not a moisture plan.
Decision 5: coordinate flatness, elevations, and transitions
Large-format tile, resilient products, rolling equipment, glass partitions, casework, doors, and neighboring floors all expose substrate variation. The earlier those interfaces are coordinated, the less likely the project is to end with abrupt reducers, lippage, doors that bind, carts that rattle, or accessibility problems.
The U.S. Access Board's guidance on floor and ground surfaces explains how accessible routes address firmness, stability, slip resistance, openings, and changes in level. The project team still must apply the governing code and approved details to the actual building.
Before installation, confirm:
- finished elevations for every flooring system;
- allowable transitions at doors and accessible routes;
- floor flatness required by the finish material;
- depressions or buildups required for thicker assemblies;
- drains, slopes, thresholds, elevator sills, and expansion covers;
- wall base, casework, toilet partitions, and door-frame sequencing.
Decision 6: honor movement joints and building movement
Concrete moves. Buildings expand, contract, settle, vibrate, and respond to temperature and moisture. Tile and terrazzo assemblies need a movement strategy that respects the substrate and the selected system.
Never assume a joint can simply disappear under finish flooring. The design team and installer should coordinate which joints continue through the assembly, where perimeter and field accommodation is required, and how those details meet walls, columns, thresholds, drains, and changes in plane. Cutting or filling the wrong joint for appearance can transfer movement into cracks and debonding later.
This is one reason early contractor involvement matters: movement details are far easier to resolve on drawings than after a pattern, divider layout, or tile grid has been approved.
Decision 7: specify the complete system, not just the visible material
“Porcelain tile” is not a complete specification. Neither is “LVT,” “terrazzo,” or “polished concrete.” Performance depends on the assembly:
- substrate preparation method;
- crack isolation, waterproofing, or uncoupling where required;
- primer, patch, underlayment, or moisture mitigation;
- mortar or adhesive matched to material and conditions;
- grout or joint treatment;
- base and transition details;
- sealer, guard, or finish;
- compatible cleaning and maintenance products.
Substituting one component can change cure time, warranty conditions, chemical resistance, or compatibility with the rest of the assembly. Product data and current manufacturer instructions belong in the submittal review, not just in a binder after turnover.
Decision 8: build a schedule around preparation and cure time
Flooring is often scheduled near the end of construction, when every delayed trade is competing for the same space. That does not make preparation or cure time negotiable.
A credible flooring schedule includes:
- area release from other trades;
- enclosure and stable environmental conditions;
- substrate testing and acceptance;
- demolition and removal, if needed;
- grinding, patching, leveling, mitigation, or repairs;
- installation by area and system;
- cure and protection windows;
- cleaning, inspection, punch work, and owner turnover.
Material lead times, custom colors, divider layouts, transitions, and specialty accessories belong on the procurement schedule. So do owner decisions. A custom terrazzo logo cannot be compressed into the final week because the color was approved late.
Decision 9: design the phasing around people and operations
Occupied work is a logistics project before it is a flooring project. Hospitals cannot stop moving patients. Retailers still need customers to reach the register. Schools may have summer windows, athletics, staff days, and construction happening at the same time.
Good phasing defines:
- which area is fully closed and which route remains fully open;
- temporary egress and accessible paths;
- material staging and debris removal routes;
- noise, dust, odor, and vibration windows;
- cure time before traffic returns;
- barricades, signage, security, and after-hours access;
- daily turnover responsibility and the emergency contact.
Our dedicated guide to flooring work in occupied facilities goes deeper into night work, containment, and honest scheduling.
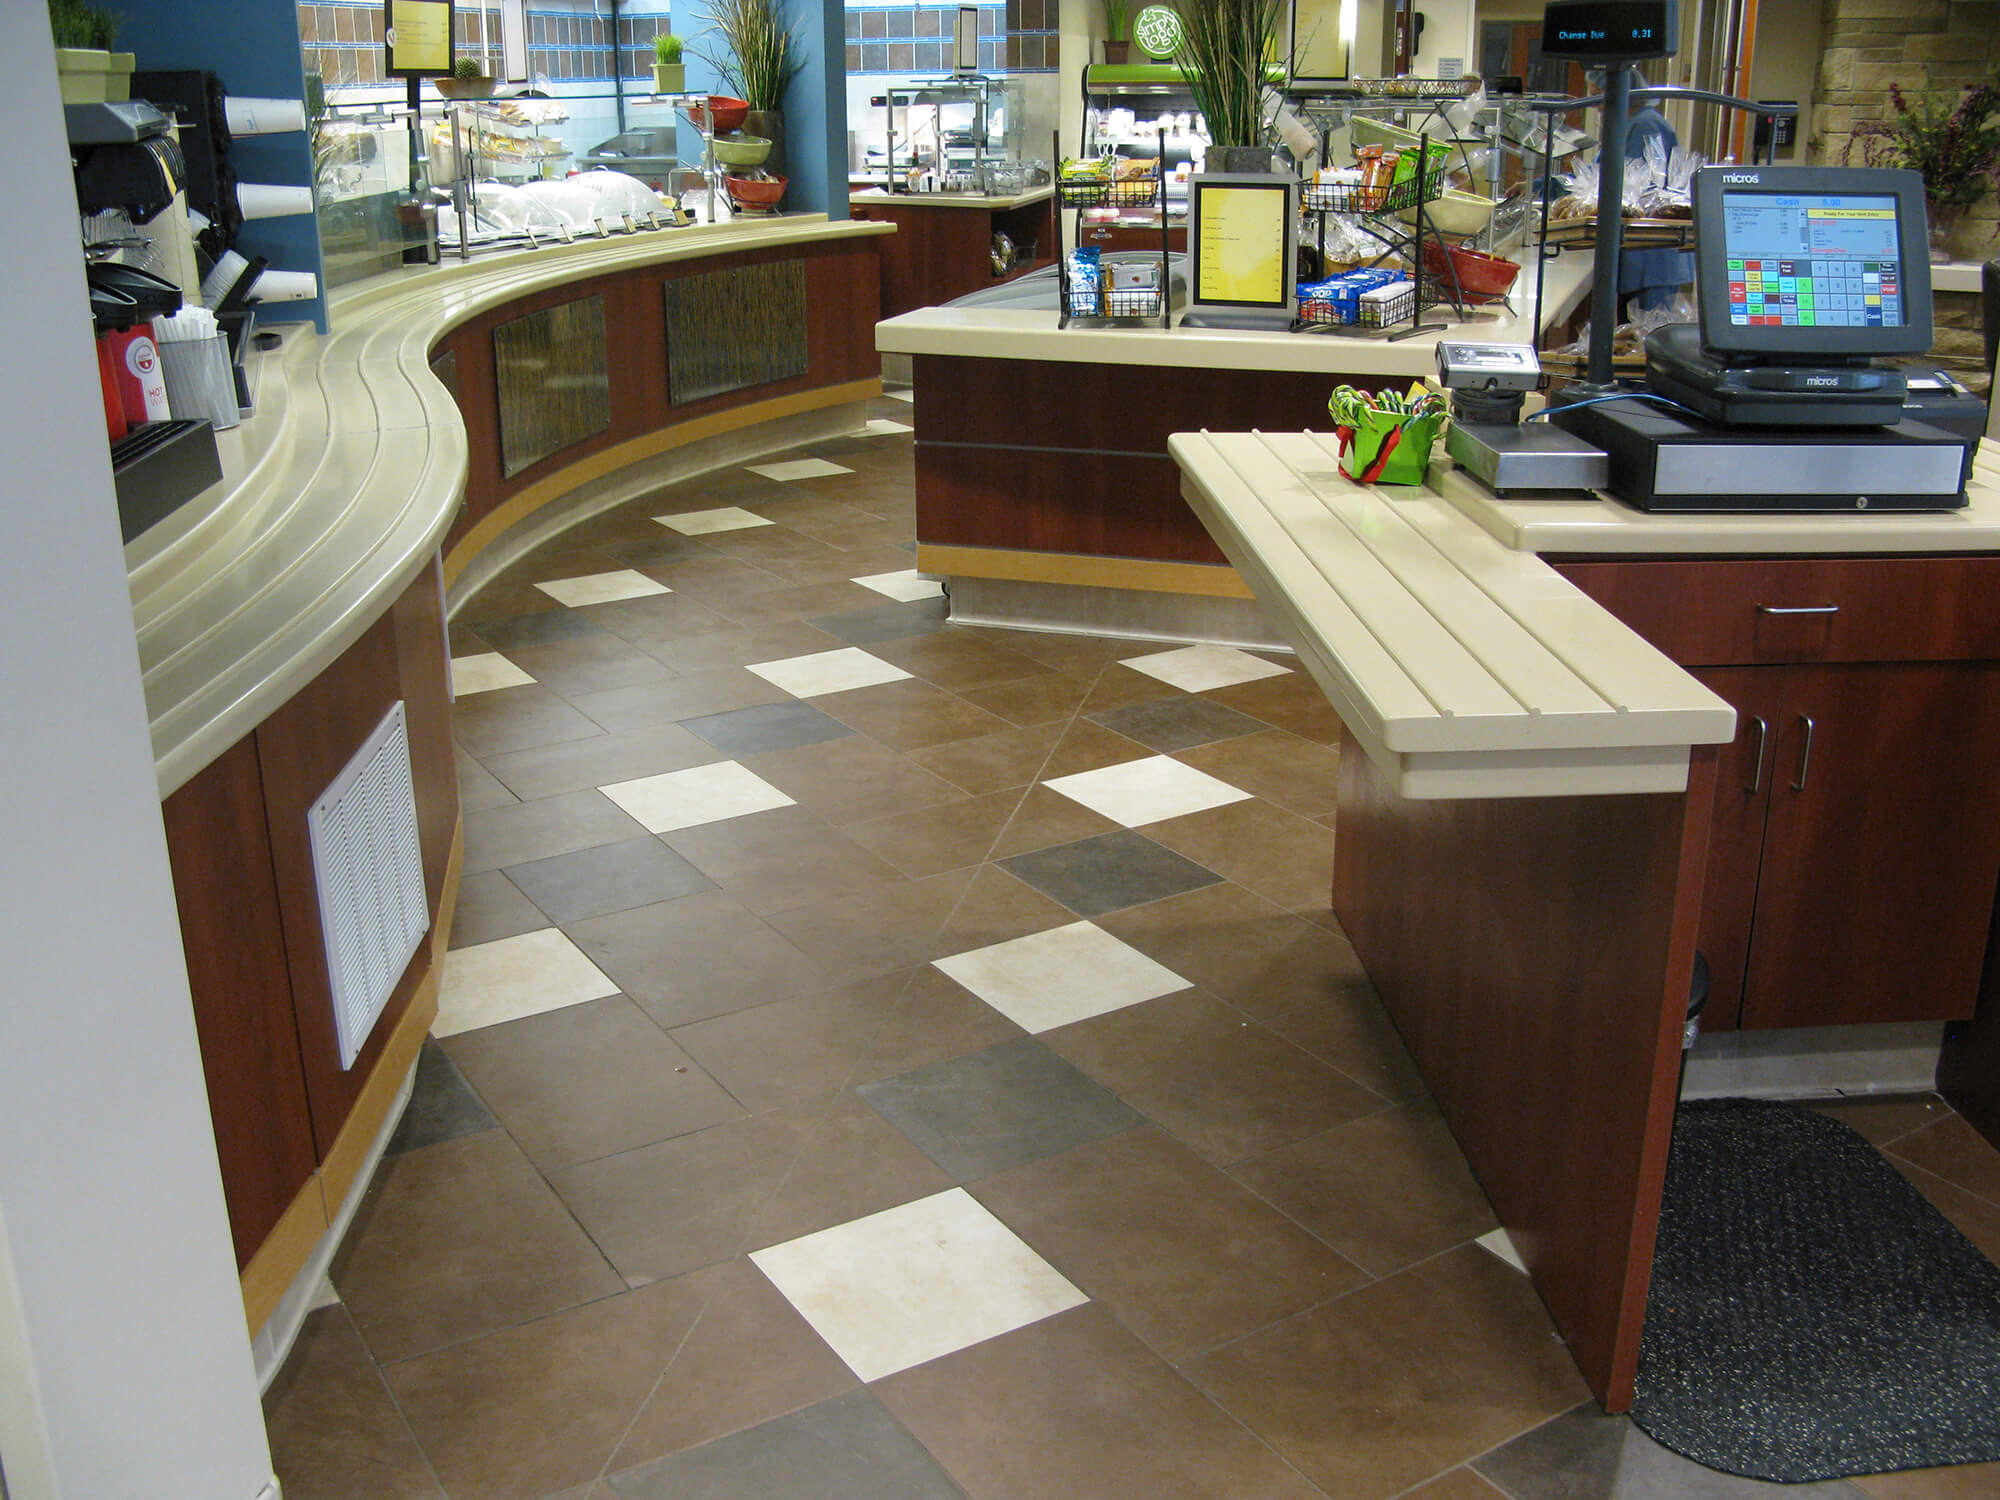
Decision 10: control dust, silica, odor, and adjacent damage
Grinding concrete, removing mortar, cutting tile, and preparing substrates can create dust and respirable crystalline silica. OSHA's construction guidance explains that controls such as water delivery and local exhaust can substantially reduce silica dust during work on concrete, brick, block, stone, and similar materials. See OSHA's construction silica resources for the regulatory framework and employer responsibilities.
For the project team, the practical plan should address:
- task-appropriate engineering controls and respiratory protection;
- isolation and negative air where occupied areas require it;
- HEPA cleanup instead of redistributing fine dust;
- low-emitting product options where appropriate;
- protection for elevators, finished walls, doors, casework, and HVAC returns;
- safe routes for demolition debris and fresh material.
Containment cannot be improvised after dust reaches an occupied corridor.
Decision 11: define quality before the punch list
Words such as “level,” “flat,” “flush,” “uniform,” and “match” can mean different things to different people. The drawings, specification, approved submittals, and referenced standards should define acceptance. Mockups help when color blend, grout tone, terrazzo aggregate, sheen, pattern, transition, or repair appearance matters.
Useful quality controls include:
- an approved material and finish sample;
- a field mockup for complex or highly visible work;
- documented substrate and moisture results;
- layout review before permanent installation;
- first-area inspection before production continues;
- protection requirements for following trades;
- punch-list timing before furniture and occupants return.
A mockup does more than show appearance. It gives the owner, designer, contractor, and installer one shared definition of “right.”
Decision 12: write the maintenance plan before turnover
The installer can deliver a beautiful floor and the wrong first cleaning can damage it. Turnover should include more than spare material and a warranty PDF.
The owner needs:
- initial cleaning instructions and the date the floor may be cleaned;
- approved daily and periodic products;
- prohibited acids, abrasives, pads, coatings, and disinfectants;
- stain and spill response;
- repair contacts and attic-stock requirements;
- entry-mat strategy for Indiana grit, salt, and moisture;
- training for the people actually maintaining the space.
Maintenance should match the building's staffing reality. If a system requires a process the owner cannot sustain, choose a different system before bidding.
What a complete commercial flooring bid should make clear
Low bids become expensive when the exclusions carry the project risk. A useful proposal or scope should make these items visible:
- exact material and installation system;
- quantities, alternates, patterns, and waste assumptions;
- substrate preparation included and excluded;
- moisture testing and mitigation responsibility;
- floor leveling, crack treatment, and joint treatment;
- demolition, disposal, and hazardous-material exclusions;
- base, transitions, accessories, sealers, and protection;
- phasing, overtime, mobilizations, and access assumptions;
- environmental conditions and cure windows;
- closeout, maintenance information, and warranty.
When two bids are far apart, compare those lines before assuming one contractor found a bargain. Often they priced different scopes.
A practical preconstruction checklist
Before releasing flooring, the owner, designer, general contractor, and flooring contractor should be able to answer:
- What traffic, rolling loads, water, chemicals, and abuse will each room see?
- What is the expected ownership and replacement horizon?
- What is known—and not known—about the slab or existing substrate?
- Who performs, reviews, and accepts moisture testing?
- Who owns mitigation, leveling, crack treatment, and joint details?
- Are all finished-floor elevations and transitions coordinated?
- Are material lead times and owner selections on the schedule?
- Are the building conditions suitable for installation and cure?
- How will occupied areas remain safe and accessible?
- What mockups or first-area approvals are required?
- Who protects the finished floor from later trades?
- Who receives maintenance training and closeout materials?
If several answers are “we will decide in the field,” the project is not ready for flooring.
Frequently asked questions
When should a commercial flooring contractor join the project?
Before final material selection on complicated renovations, custom terrazzo, large-format tile, occupied work, or projects with uncertain slabs. Early review can expose elevation, moisture, phasing, lead-time, and maintenance problems while they are still inexpensive to solve.
Can commercial flooring be installed while a business stays open?
Often, yes. The plan may use nights, weekends, temporary routes, containment, and multiple mobilizations. The realistic limit is cure time: an area cannot return to traffic before the installed system allows it.
Who is responsible for moisture problems in the slab?
The contract documents should answer that. Testing, acceptance, correction, mitigation, and warranty responsibilities must be assigned rather than assumed. The flooring contractor can identify conditions and price solutions, but the project team must decide who owns them.
Is tile always the best choice for wet commercial areas?
Tile is often an excellent choice when the correct tile, grout, setting system, slope, waterproofing, movement details, and maintenance plan are used. “Tile” alone does not guarantee slip resistance, drainage, or waterproof performance.
How far ahead should commercial flooring be ordered?
It depends on the material, quantity, color, accessories, and market conditions. Standard products may move quickly; custom terrazzo colors, specialty tile, imported material, custom transitions, and large coordinated orders need more time. Confirm current lead times before publishing the construction schedule.
Plan the floor before it becomes the problem
The best time to solve a flooring issue is during planning. The second-best time is before demolition. Once the building is open, every correction costs more because the work competes with people, furniture, equipment, and revenue.
F & M's commercial flooring services bring planning, material guidance, and union installation together under one accountable team. We install terrazzo, tile, polished concrete, LVT, carpet, brick pavers, and natural stone across Fort Wayne and northeast Indiana—and we will tell you when a material does not fit the building.
Planning a renovation, addition, or new commercial facility? Send F & M your plans or call 260-483-6389 before the floor hits the critical path.