
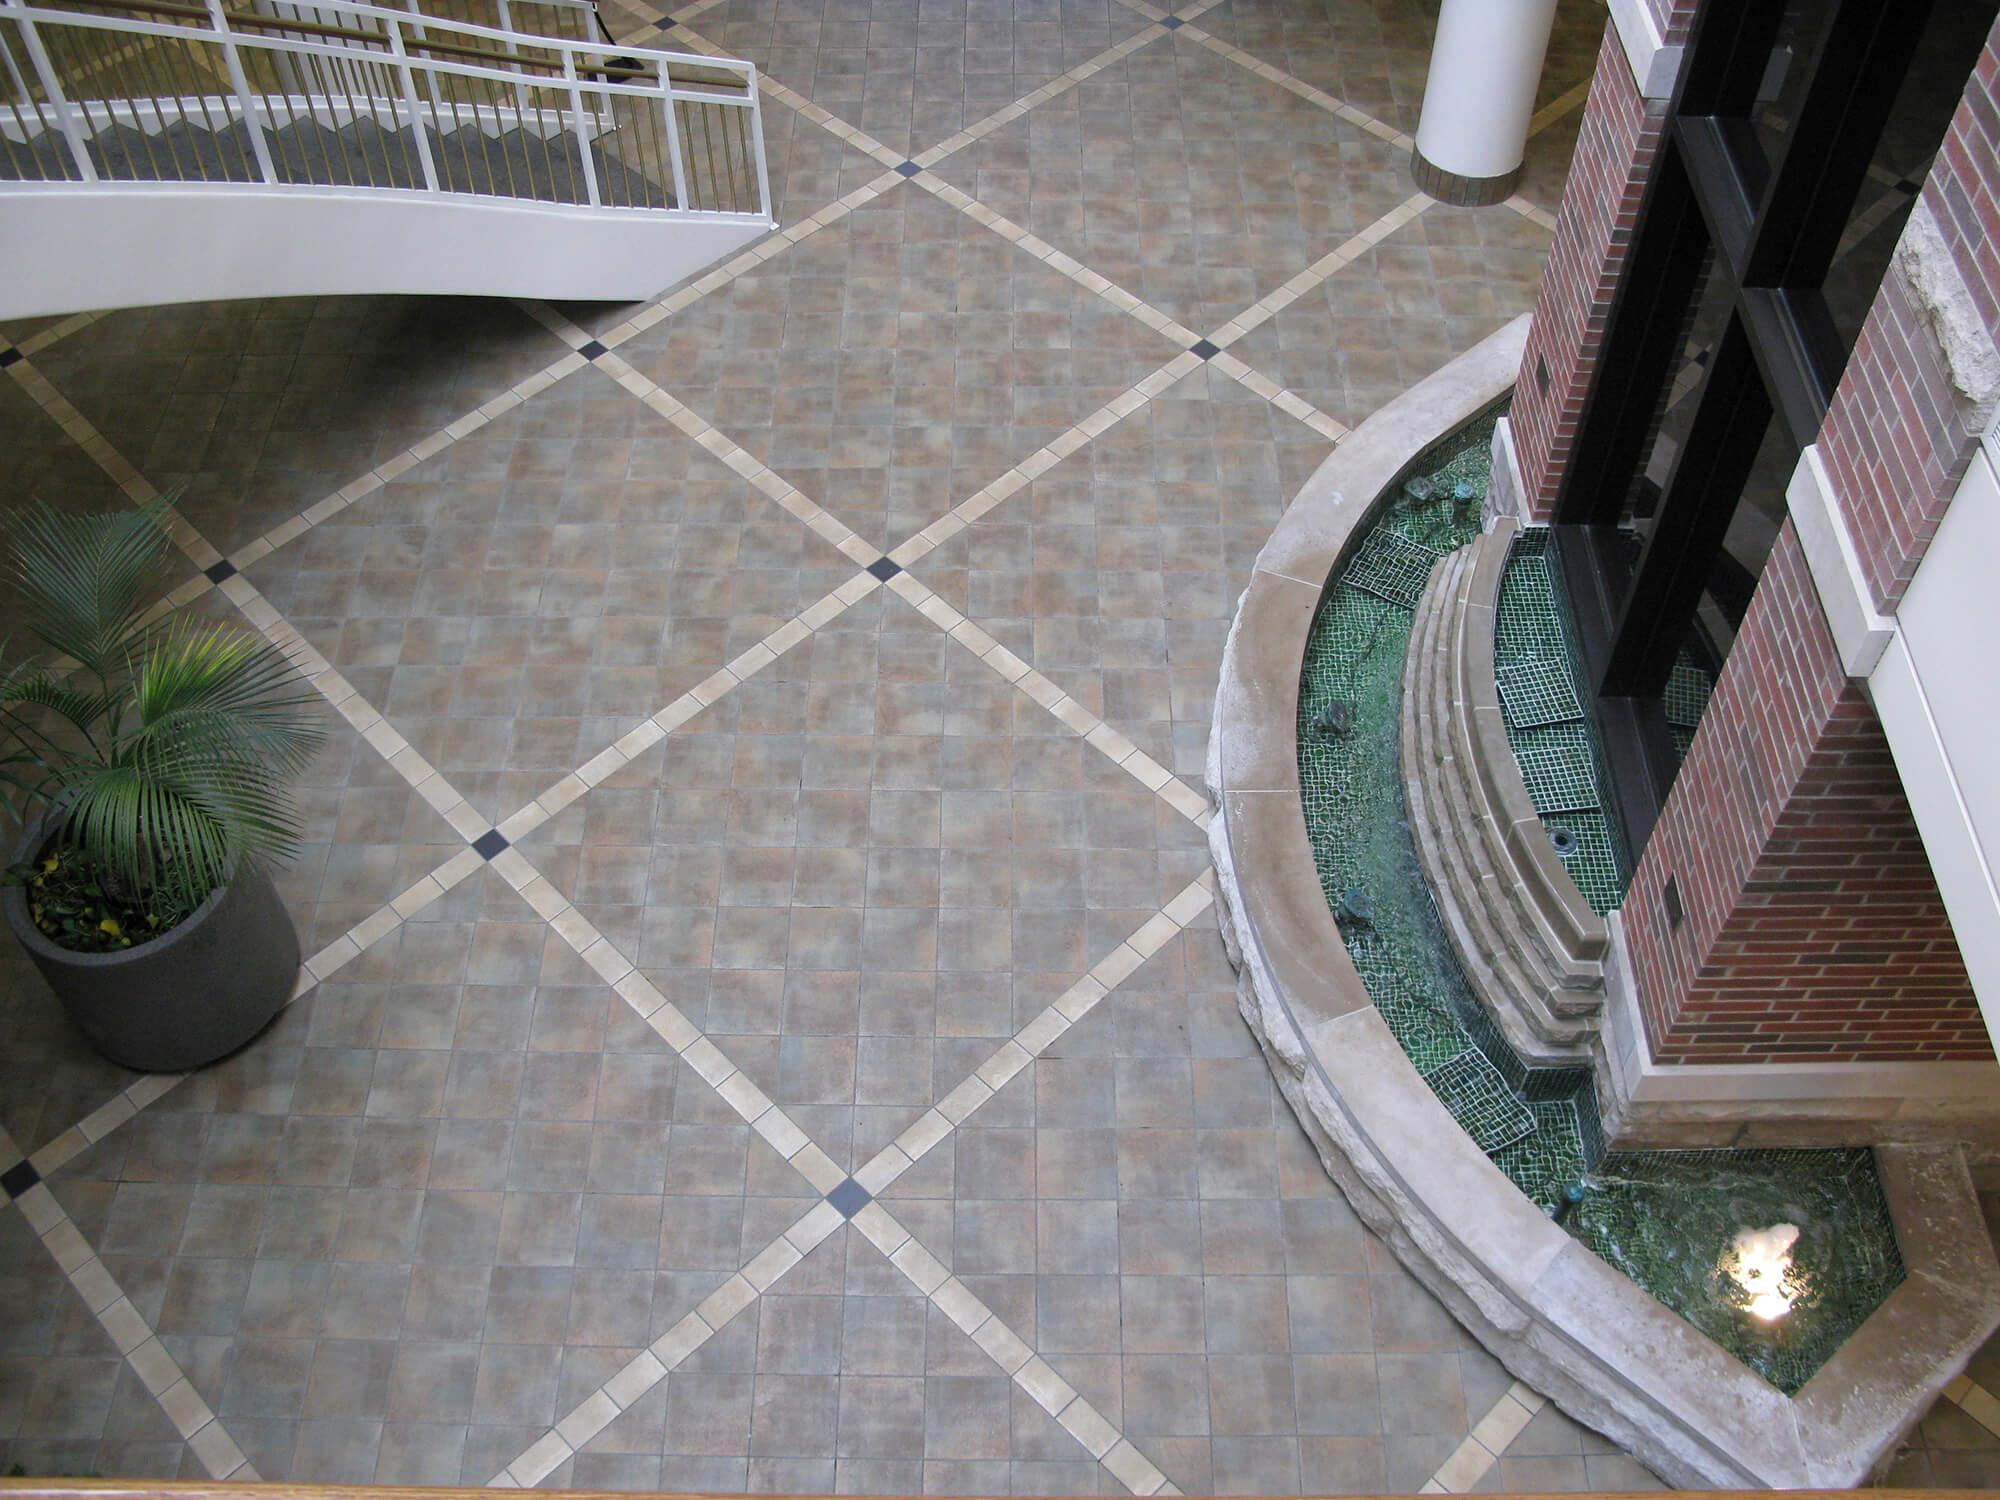
A renovation can have the right tile, the right carpet, and an awkward connection between them. The trouble often starts before either material arrives: two finish samples are approved, but nobody checks the complete installed height at the doorway.
For northeast Indiana schools, offices, clinics, stores, and civic buildings, these connections deserve their own planning exercise. A corridor may stay in place while the rooms beside it receive new floors. An elevator sill may be fixed. A restroom may need a different assembly than the adjoining hall. A product substitution can change more than the color.
Choose the floor systems together, measure the interfaces, and approve transition details before ordering materials. A transition strip is one possible component—not a substitute for coordinating the building.
Start with a transition map, not a trim catalog
Walk the project with the floor plan and mark every place the new work meets something else. Include connections that are easy to miss on a finish schedule:
- new flooring meeting a retained corridor or lobby;
- tile meeting carpet, terrazzo, or luxury vinyl tile;
- door thresholds, frames, and the full door-swing area;
- elevator sills and other fixed elevations;
- recessed entrance mats and their surrounding frames;
- floor drains and adjoining sloped areas;
- joints or covers already present in the substrate;
- temporary edges between construction phases.
Give each interface an identifier, such as T-01, and photograph it. Record the materials on both sides, known heights, traffic direction, and equipment that crosses it. Note what remains unknown until selective removal exposes the substrate.
This is especially useful when a building stays open. The finished transition and the temporary edge during construction are different details; both need an assigned owner. Our occupied-facility flooring guide covers the access and phasing side of that work.
Compare the complete assemblies
The thickness printed on a tile carton is not the finished-floor elevation. Compare the specified assembly on each side, including the finish, setting material or adhesive, required membranes, underlayment, and planned substrate preparation. Use the actual approved products and installation instructions rather than generic thickness assumptions.
For an existing building, measure from a shared reference elevation. Do not assume that floors in adjacent rooms start from the same slab height, or that the surface revealed by demolition will match the drawings. Record both existing measurements and the proposed finished elevations.
The comparison should answer three questions:
- Where must the finished surface land? Fixed sills, retained floors, and door conditions may constrain the answer.
- How will the specified system reach that elevation? Identify the preparation and components needed, rather than leaving the installer to improvise a buildup.
- Where will any remaining height change occur? Show its location and profile in a detail the design team can review.
For example, consider a classroom renovation that retains a terrazzo corridor and replaces the classroom flooring. The useful question is not simply which carpet looks best beside terrazzo. It is whether the selected carpet assembly, substrate preparation, doorway, and edge treatment work together at the measured corridor elevation. This is a planning example, not a description of a particular F & M project.
Separate accessibility requirements from appearance preferences
A narrow trim piece can look tidy in a sample and still be inappropriate for the installed condition. The U.S. Access Board’s floor and ground surface guidance explains that accessible surfaces must be stable, firm, and slip resistant. It also addresses carpet attachment, exposed edges, openings, and changes in level.
For changes in level covered by that guidance:
- A vertical change of up to 1/4 inch is permitted without edge treatment.
- A change above 1/4 inch and up to 1/2 inch must be beveled with a slope no steeper than 1:2.
- A change above 1/2 inch requires a ramp or curb ramp, or a walkway where a slope no steeper than 1:20 can be achieved, with the applicable requirements for that condition.
These are design constraints, not recommended targets for every transition. A project may call for a smoother connection for carts, cleaning equipment, or wheeled mobility devices. Meeting one dimension does not establish compliance for an entire doorway or route.
Door thresholds also have specific provisions. The Access Board’s entrances, doors, and gates guidance distinguishes new-construction threshold limits from an exception for certain existing or altered thresholds. Do not apply that exception to every new floor edge in a renovation. Have the design team determine the applicable requirements for the actual location and scope of work.
Check the door, not just the opening beneath it
A higher floor can affect more than the space directly under a closed door. Review the entire swing, the threshold assembly, the adjoining clear floor area, and the approach from both directions.
The Access Board explains that required door maneuvering clearances must be free of changes in level other than thresholds. That makes the location of a proposed buildup or sloped transition important—not just its maximum height. A detail that appears workable in section may occupy space needed to approach and operate the door.
Before approving the transition, ask:
- Does the door clear the proposed floor through its full swing?
- Is the proposed profile located within a required maneuvering clearance?
- Are the frame, threshold, seals, and floor elevations coordinated?
- Does the detail affect a rated door assembly or other specified performance?
- Who reviews and performs any required door work?
Do not treat trimming a door as the automatic solution. Route door modifications through the appropriate design and door-hardware review, especially when rated assemblies are involved.
Match the detail to the interface
Different connections deserve different questions. Use this comparison to focus the coordination meeting, not to select a universal trim profile.
| Interface | Decision to resolve | Information needed before approval |
|---|---|---|
| Tile to carpet | Finished heights and how the exposed carpet edge is secured and protected | Complete assemblies, carpet backing, attachment method, edge profile |
| Tile to luxury vinyl tile | Whether preparation can coordinate the elevations and how the material edges terminate | Product thicknesses, preparation scope, adhesive and profile compatibility |
| New floor to retained terrazzo | How to meet the existing elevation without assuming the old surface can be altered | Field measurements, condition of the retained edge, protection and repair scope |
| New floor to elevator sill | How the floor meets a fixed building component | Sill elevation, adjacent floor condition, approved interface detail |
| Floor to recessed mat | How the frame and mat meet surrounding flooring | Recess depth, frame detail, mat thickness, attachment and maintenance access |
| Floor at an existing joint | Whether a movement detail or cover is required | Joint identification and a system-specific detail reviewed by the project team |
A decorative strip should not be assumed to serve as a movement-joint solution. Identify existing joints during investigation and resolve their treatment as part of the selected floor system. For broader assembly planning, see our commercial flooring installation guide.
Make the bid scope explicit
“Transitions included” leaves too much room for different interpretations. One bidder may allow for standard trim; another may include substrate preparation, custom profiles, door coordination, and multiple visits. Those are not equivalent scopes.
Ask the bid documents or proposal to identify:
- transition locations and approximate lengths;
- selected profiles, finishes, and attachment details;
- preparation or buildup included on each side;
- treatment of retained flooring and damaged edges;
- responsibility for measurements and unresolved details;
- door, frame, sill, and mat work included or excluded;
- temporary edges and protection between phases;
- how concealed conditions will be documented and priced.
If the substrate cannot be fully investigated before bidding, state the uncertainty and the process for resolving it. A defined allowance or documented change procedure is more useful than pretending the existing construction is already known. Compare these costs alongside the floor system in your lifecycle-cost review.
Review one representative connection before repeating it
For a repeated or high-visibility detail, consider a field mockup or first-area review. It should use the actual materials and proposed edge treatment, not just loose samples held together on a desk.
Review the profile, finish, attachment, door operation, cleaning access, and how the building’s typical carts cross it. Include the facility team: they know which supply carts, floor machines, and other equipment actually use the route. This practical review supplements the specified measurements and acceptance criteria; it does not replace them or certify accessibility.
Record the approved detail and any changes. If a material substitution occurs later, recheck the installed assembly height and compatibility before extending the detail to the rest of the building.
Pre-order transition checklist
Use this list before releasing finish materials and accessories:
- Map every new-to-new and new-to-existing flooring interface.
- Measure retained floors, fixed sills, recesses, and door conditions.
- Identify concealed conditions that need investigation.
- Compare complete installed assemblies from a shared reference elevation.
- Have the design team review applicable accessibility and doorway requirements.
- Resolve existing joints and system-specific edge details.
- Assign preparation, trim, door work, and temporary-edge responsibilities.
- Confirm accessory availability alongside the flooring order.
- Approve a representative connection where appropriate.
- Recheck transitions after substitutions and verify completed conditions before turnover.
Questions owners and specifiers ask
Can we choose the transition after the flooring arrives?
That can leave few workable options if the heights, door clearances, or fixed sills do not coordinate. Select and detail the interface during design and submittal review, then verify field conditions before installation.
Is a flush transition always possible?
Not necessarily. Existing elevations, required assemblies, retained construction, and project constraints may limit the options. Establish the preferred result early and have the project team evaluate the preparation or redesign needed to achieve it.
Does an “ADA” label on a transition product settle the issue?
No. The installed condition matters: height, slope, location, attachment, adjacent surfaces, and doorway clearances all need appropriate review. A product description alone cannot establish compliance for the project.
Should we use one flooring material everywhere to avoid transitions?
Not automatically. Different rooms may need different materials for cleaning, acoustics, appearance, or use. Coordinate the connections rather than forcing one finish into every space. Explore F & M’s commercial flooring materials when comparing options.
Bring the interfaces into the conversation early
A well-planned transition starts with a measured condition and an agreed detail—not a last-minute search for a strip wide enough to hide a mismatch.
F & M Tile & Terrazzo has served northeast Indiana since 1958. Planning a commercial renovation in Fort Wayne or the surrounding region? Send us your plans or call 260-483-6389. Include the finish schedule, photographs of existing connections, known elevations, and the areas that must remain open so the flooring discussion starts with the building you actually have.